Estimated reading time: 8 minutes
If you are sourcing custom shoulder bags in PU leather or microfiber leather, a standard bag QC checklist will miss the defects that matter most for these materials. PU leather fails differently from microfiber leather — coating adhesion, flex resistance, edge separation, and logo anchoring all have material-specific failure patterns that a generic inspection will not catch.
This guide covers what professional QC inspectors check at each of the four standard stages — incoming material, in-process, final inspection, and pre-shipment — with specific standards for PU leather versus microfiber leather. If you have not yet decided which material to use, start with our best materials for custom shoulder bags guide to compare your options.
Table of Contents
- Why PU and Microfiber Need Different QC Approaches
- Stage 1 — Incoming Material: What to Check for PU vs Microfiber
- Stage 2 — In-Process: Logo Application & Seam Durability
- Stage 3 — Final Inspection: The 5 Tests Every PU/Microfiber Bag Must Pass
- Stage 4 — Pre-Shipment: What to Flag in the Final Lot
- PU vs Microfiber QC Reference Table
- DIY vs Third-Party Inspection for PU/Microfiber Bags
- Conclusion — Build QC Into Your PU/Microfiber Bag Order
- References
Why PU and Microfiber Need Different QC Approaches
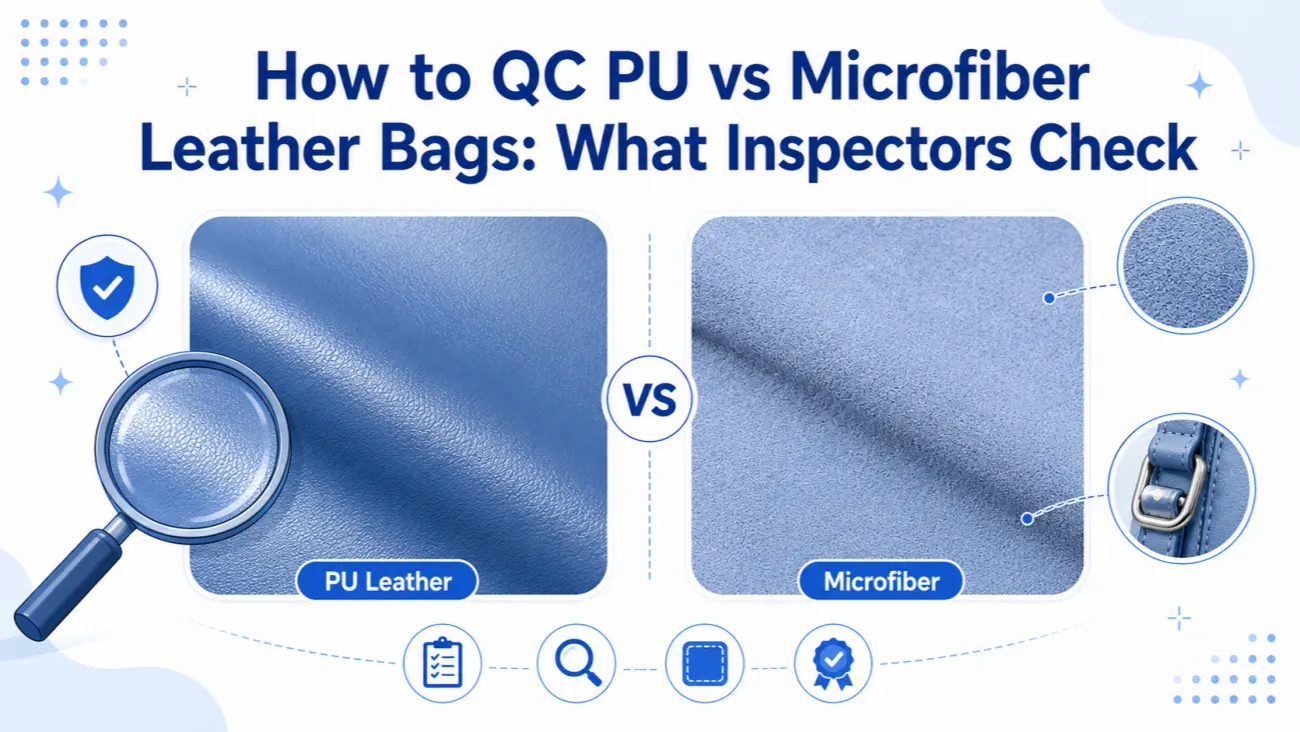
PU leather and microfiber leather are both classified as synthetic leather, but their internal structures are fundamentally different. PU leather is a polyurethane coating applied to a woven or knitted fabric backing. Microfiber leather is a non-woven microfiber substrate (typically polyester and polyamide) impregnated with polyurethane — the PU goes into the fiber matrix rather than sitting on top of it.
This structural difference creates completely different failure patterns:
- PU leather fails at the surface. The coating can peel, crack, scratch, or separate from the backing. This is why PU QC focuses on coating adhesion and surface durability.
- Microfiber leather fails at the edge or bond. Because the PU is embedded in the fiber matrix, surface peeling is rare. Instead, problems show up at cut edges (fraying), backside delamination, or uneven density across the roll.
In our experience, buyers who use the same QC checklist for both materials end up either over-inspecting (wasting time checking microfiber for a defect that only affects PU) or under-inspecting (missing a microfiber edge defect that looks fine to the untrained eye). The approach below separates the two clearly.
For the broader quality control framework that applies across all bag types and materials, see our custom handbag quality control checklist. This article focuses specifically on what changes when your material is PU or microfiber.
Stage 1 — Incoming Material: What to Check for PU vs Microfiber
Material inspection happens before cutting begins. This is the cheapest stage to catch problems — rejecting a roll of defective material costs far less than rejecting finished bags.
PU Leather — Three Must-Check Items
1. Coating adhesion (scratch test). This is the single most important test for incoming PU leather. Use a fingernail or coin to lightly scratch the surface at a 45-degree angle. Grade the result on three levels:
- Good: No visible mark after moderate pressure.
- Borderline: A faint white line appears but disappears when rubbed with a finger.
- Reject: The coating flakes off or a permanent white score line remains.
Test at five different points on the roll — edge, center, and the other edge — because coating quality can vary across the width. If two or more points score at “borderline” or worse, reject the entire roll. Lower-grade PU from inconsistent suppliers often shows acceptable coating at the roll center but weak adhesion near the edges, where the coating machine produces a thinner layer.
2. Thickness consistency. Measure with a caliper at 10 random points across the roll. For shoulder bags, the standard is 1.0 mm to 1.2 mm. A variation of more than ±0.15 mm across the roll means the material will produce panels with inconsistent stiffness — some bag panels will hold shape while others will feel floppy.
3. Color batch match. Place a cutting from the new roll against the approved color standard (or the lab-dip sample). Check under both natural daylight and warm indoor light. Color shift between batches is a well-known issue for PU leather because the PU resin’s base color can vary slightly between production runs. If the new roll is more than a Delta E of 1.5 from the standard, request the supplier to re-coat before cutting.
Microfiber Leather — Three Must-Check Items
1. Backside integrity. Microfiber leather’s strength comes from its non-woven base. Gently pull the backing fabric at the edge. If the fibers separate easily or the backside shows visible pilling, the density is too low. Good microfiber should feel tight and cohesive when pulled.
2. Surface density consistency. Run your hand across the entire roll surface. Look for patches that feel noticeably softer or thinner — these are low-density zones where the microfiber matrix was not uniformly compressed during manufacturing. These weak spots will wear faster and can cause bag panels to develop uneven stretching over time.
3. Tear strength verification. Microfiber leather should meet a minimum tear strength of 30 N/mm (ISO 13937). If your supplier provides a test certificate, verify the value. If not, request a small sample piece and have it lab-tested before bulk production. Microfiber below 25 N/mm tear strength will fail at high-stress points like handle anchors and strap attachments.
Stage 2 — In-Process: Logo Application & Seam Durability
During production, the most common material-specific defects appear at two places: the logo application and the seam junctions.
PU Leather — Logo and Seam Checks
Embossing depth control. PU leather has a finite coating thickness — typically 0.15 mm to 0.25 mm of PU on top of the fabric backing. Deep embossing can push through this coating layer and expose the fabric backing underneath, which looks like a white or grey line inside the embossed area. Before bulk production, ask the factory to run a trial embossing on a scrap piece. The embossing die should not penetrate more than 60% of the coating thickness.
Metal nameplate attachment. When a metal logo plate is riveted or stitched onto PU leather, the attachment points concentrate stress in a small area. Check that each rivet hole is reinforced with a small fabric or leather patch on the inside. Without this reinforcement, the metal plate can tear through the PU over time, especially on bags that see daily use.
Seam edge sealing. PU leather edges that are cut but not folded or bound will expose the fabric backing. This is not a defect if the edge is hidden inside a seam, but it becomes one if the cut edge is visible on the finished bag (e.g., an unlined tote’s shoulder strap tabs). Verify that visible cut edges are either edge-painted, folded, or covered with binding tape.
Microfiber Leather — Logo and Seam Checks
Deeper embossing is possible. Because the PU is embedded within the microfiber matrix rather than layered on top, microfiber leather accepts deeper embossing without exposing a backing layer. The QC priority shifts from “do not penetrate the coating” to “is the emboss depth consistent across the logo.” Check that the emboss is even — the left side of your logo should be as deep as the right side.
Silicone patch adhesion. Microfiber leather is the preferred base for silicone logo patches because its non-woven surface provides a strong bonding surface. To test adhesion, try to peel a corner of the silicone patch with moderate finger pressure. It should not lift. A patch that peels with firm finger pressure will detach during shipping in hot containers (silicone adhesive softens at 60°C+).
Stitch hole resistance. Microfiber leather’s dense fiber matrix holds stitch holes better than PU leather. But if the needle is too large (size 18+ for microfiber), the holes will be visibly enlarged and the seam will look loose. Check that the factory is using the correct needle size for microfiber — typically size 14 to 16 for standard sewing.
Stage 3 — Final Inspection: The 5 Tests Must Pass
These five physical tests apply to both materials but have different pass/fail criteria for each. Perform them on sample units from the production batch before the full lot is packed.
1. Flex resistance test (room temperature and cold). Fold a 10 cm × 10 cm sample in half, place it under a 2 kg weight for 2 hours, then unfold and check for cracking at the crease. For PU leather, this test must also be performed at 0°C (place the sample in a refrigerator for 1 hour before folding). PU leather loses flexibility at low temperatures and may show cracking lines at the fold that are invisible at room temperature. Microfiber leather typically passes this test without issues at both temperatures due to its fiber-reinforced structure.
2. Surface abrasion test. Rub a cotton cloth firmly across the surface 20 times in the same spot (simulating the friction of a shoulder strap against a coat). PU leather at entry-level quality (below $8/m²) will often show surface wear or color transfer after 10-15 rubs. Microfiber leather should show no visible wear after 20 rubs. If color transfers to the cloth from either material, the surface finish is not properly cured.
3. Corner stress test. Bag corners are the weakest structural point for both materials. Apply moderate pressure to a corner from the inside (simulating the bag being pushed against a body or surface). PU leather may develop a white stress mark at the corner — this is the coating stretching beyond its limit. Microfiber leather may show fiber separation at the corner but rarely shows surface whitening. Neither is acceptable on a finished bag.
4. Strap anchor pull test. Attach the finished bag’s strap to a fixed point and load the bag with 3× the expected carry weight for 30 seconds. For PU leather bags, pay close attention to where the strap stitching passes through the material — this is the most common point for PU tear failure. For microfiber bags, check whether the strap anchor D-ring rivet is pulling against the material. Acceptable: no visible deformation at the anchor point. Reject: stitch elongation, fabric tear, or rivet pull-through.
5. Color rub fastness (dry and wet). Rub a white cotton cloth firmly across the bag surface — once dry and once with the cloth slightly dampened. PU leather should show no more than a faint trace of color on the dry test and no more than moderate trace on the wet test. Microfiber leather typically performs better on this test because its color is embedded in the fiber matrix rather than coated on the surface. If either test shows strong color transfer, the dye or surface finish is inadequate and the lot should be held.
Each of these tests addresses different failure modes depending on your bag type. For a deeper breakdown of type-specific QC (tote handle pull, satchel flap alignment, hobo curve symmetry, sling zipper), see our custom shoulder bag quality control guide.
Stage 4 — Pre-Shipment: What to Flag in the Final Lot
Pre-shipment inspection (PSI) is the last quality gate before your container leaves. For PU and microfiber leather bags, three material-specific checks must be added to the standard PSI checklist.
PU leather — coating layer checks:
- Spot-check 20 randomly selected bags for edge peeling. Run your fingernail along any cut edge that is visible on the finished product. If 2 or more out of 20 show coating separation at the edge, the batch has a coating adhesion problem that will worsen during shipping (container humidity accelerates edge peeling).
- Check for “creasing whitening” on the flap fold line (satchel) or handle fold (tote). A white line at a fold point indicates the coating is overstretched and will crack within weeks of use.
Microfiber leather — edge and backside checks:
- Inspect all visible cut edges for fiber fraying. Microfiber’s non-woven edge can appear fuzzy if the cutting blade was dull. Frayed edges will worsen with handling and look unprofessional at retail.
- Check the backside of the material at zipper openings and interior pockets — if the factory used a low-density microfiber, the backside may show visible fiber separation where the zipper tape is stitched through.
Packaging note for both materials: PU and microfiber leather bags should be packed with acid-free tissue paper between folded surfaces. Direct contact between two folded PU surfaces inside a box — especially in warm shipping conditions — can cause the coating to stick together and peel when the customer separates them. This is a known issue that is easy to prevent at the packing stage.
PU vs Microfiber QC Reference Table
The table below summarizes the key QC checks, acceptable standards, and material-specific differences covered in this guide.
| QC Item | PU Leather — Acceptable Standard | Microfiber Leather — Acceptable Standard | Test Method |
|---|---|---|---|
| Coating adhesion | No flaking after moderate fingernail scratch at 45° | N/A — coating is embedded in fiber matrix | Manual scratch test, 5 points per roll |
| Thickness tolerance | ±0.15 mm from spec per roll | ±0.10 mm from spec per roll | Caliper, 10 random points |
| Cold flex resistance | No cracking after 2 hr at 0°C + fold test | No cracking after 2 hr at 0°C + fold test | ISO 17226 (fold at 0°C) |
| Surface abrasion | No color transfer after 20 dry rubs | No visible wear after 20 dry rubs | Cotton cloth, moderate pressure |
| Tear strength | ≥ 20 N/mm (coating + backing combined) | ≥ 30 N/mm (fiber matrix) | ISO 13937 |
| Embossing depth limit | ≤ 60% of coating thickness | Can emboss deeper; check depth consistency | Trial emboss + microscope check |
| Color rub fastness (dry) | Faint trace on white cloth | No trace or faint trace | Dry white cloth, 10 rubs |
| Color rub fastness (wet) | Moderate trace acceptable | Faint to moderate trace | Damp white cloth, 10 rubs |
| Edge condition | No coating separation at cut edges | No visible fiber fraying at cut edges | Visual inspection + fingernail edge test |
| Strap anchor pull | No tear or stitch elongation at 3× load | No rivet pull-through at 3× load | 30 sec weighted load test |
DIY vs Third-Party Inspection for PU/Microfiber Bags
Whether you handle QC yourself or hire a third-party inspection company depends on your order size and your team’s material knowledge.
DIY inspection works when: Your order is under 500 pieces per style, and you or a team member can be present at the factory during production. For PU and microfiber bags specifically, the coating adhesion test, thickness check, and color rub fastness test are simple enough to perform on-site with basic tools (a caliper and a white cloth). Many buyers we work with visit the factory at the first-article stage, approve the sample, and then rely on the factory’s in-house QC reports for the rest of the run.
Third-party inspection is recommended when: Your order exceeds 1,000 pieces per style, you are sourcing from a factory you have not worked with before, or your end customer has specific quality requirements (e.g., EU REACH compliance for surface coatings). Third-party inspectors will follow standard AQL sampling (Critical 0 / Major 2.5 / Minor 4.0 at General Inspection Level II) and provide a detailed report. For synthetic leather, make sure the inspector is briefed on the material-specific checks in this guide — generic inspectors may not distinguish between PU and microfiber failure modes.
Most first-time buyers start with a third-party inspection for their first order, then transition to a mix of factory reports + spot checks once they have established a relationship with the manufacturer. If you are new to importing, we recommend starting with a third-party PSI for your first order — it sets a clear expectation with the factory about your quality standards from the beginning.
Conclusion — Build QC Into Your PU/Microfiber Bag Order
PU leather and microfiber leather may look similar on a swatch card, but they require fundamentally different QC approaches. PU leather fails at the coating and surface — check adhesion, cold flex resistance, and edge peeling. Microfiber leather fails at the fiber structure — check tear strength, edge fraying, and density consistency.
Copy the QC reference table from this guide into your purchase order. Specify which tests must be performed at each stage and what the acceptable standard is. When your factory knows exactly what you will inspect, they build precision into every step — from material sourcing through to final packing.
Ready to start your custom shoulder bag project? Contact us with your material preference and target quantity, and we will provide a complete QC plan that includes material-specific inspection at every stage.
References
- ISO 9001:2015 — Quality Management Systems — International standard for quality management frameworks used by professional bag manufacturers to standardize inspection processes.
- ISO 17226 — Leather — Determination of Flex Resistance — Industry standard for measuring flex resistance of leather and synthetic leather materials, including cold-temperature testing.
- ISO 13937 — Textiles — Tear Properties of Fabrics — Standard tear strength testing method used to evaluate microfiber and PU leather performance at high-stress bag points.
- ASQ — AQL (Acceptable Quality Limit) Standards — American Society for Quality guide to AQL sampling plans (ANSI/ASQ Z1.4) used in bag QC inspections.
- Intertek — Hardline Testing Services — Third-party testing standards for coating adhesion, color fastness, and hardware durability on synthetic leather bag products.